
R-ALAB 308H.12.1 - DOM Manipulation (Part One)
Learning Objectives
After this lab, learners will have demonstrated the ability to:
- Manipulate the DOM using JavaScript.
CodeSandbox
This lab uses CodeSandbox as one of its tools.
If you are unfamiliar with CodeSandbox, or need a refresher, please visit our reference page on CodeSandbox for instructions on:
- Creating an Account
- Making a Sandbox
- Navigating your Sandbox
- Submitting a link to your Sandbox to Canvas
Instructions
- Create a
VanillaCodeSandbox and name it "DOM Manipulation Lab." - Follow along with the instructions below.
- Submit the link to your CodeSandbox on Canvas when you are finished.
Deliverables
- A link to a CodeSandbox that contains your completed lab with no errors (comment things out if they do not work).
Introduction
This is the first of a two-part lab that builds a menu bar with a slide-down submenu.
Note: Several of the tasks in this lab would be better done upfront in the markup or CSS instead of using JS; however, the goal of this lab is to provide practice modifying the DOM using JS. In your projects, if the HTML or CSS is known in advance and/or static (unchanging), code it in HTML and CSS!
Getting Started
- Update the
<body>element in the index.html to this:
<body>
	<header>
	<nav id="top-menu"></nav>
	</header>
	<main></main>

	<script src="index.js"></script>
</body>
Note: The markup is complete - DO NOT modify it in any way - do not add any classes or ids.
- Add the following CSS within styles.css:
* {
	box-sizing: border-box;
}

/* CSS Custom Properties */
:root {
	--main-bg: #4a4e4d;
	--top-menu-bg: #0e9aa7;
	--sub-menu-bg: #3da4ab;
}

body {
	font-family: Tahoma, Geneva, sans-serif;
	height: 100vh;
	margin: 0;
	display: grid;
	grid-template-rows: 3rem auto;
	color: white;
}

.flex-ctr {
	display: flex;
	justify-content: center;
	align-items: center;
}

.flex-around {
	display: flex;
	justify-content: space-around;
	align-items: center;
}

nav a {
	line-height: 3rem;
	padding: 0 1rem;
	text-transform: uppercase;
	text-decoration: none;
	color: white;
}

#top-menu a:hover {
	background-color: var(--sub-menu-bg);
}
Note: The CSS is complete - DO NOT modify it in any way.
Take five minutes to familiarize yourself with CSS Custom Properties (variables) - they are an amazing new addition to CSS. If you're familiar with using variables with SASS/LESS pre-processors, CSS Custom Properties are similar, but far more powerful because they are dynamic (their values can be changed during runtime) - and they are built into the CSS language!
Building the Menu
- Select and cache the
<main>element in a variable namedmainEl. -
Set the background color of
mainElto the value stored in the--main-bgCSS custom property.- Hint: Assign a string that uses the CSS
var()function like this:'var(--main-bg)'.
- Hint: Assign a string that uses the CSS
- Set the content of
mainElto<h1>DOM Manipulation</h1>. -
Add a class of
flex-ctrtomainEl.- Hint: Element.classList API
Progress Check - Here's what it should look like so far:

- Select and cache the
<nav id="top-menu">element in a variable namedtopMenuEl. - Set the height
topMenuElelement to be100%. - Set the background color of
topMenuElto the value stored in the--top-menu-bgCSS custom property. - Add a class of
flex-aroundtotopMenuEl.
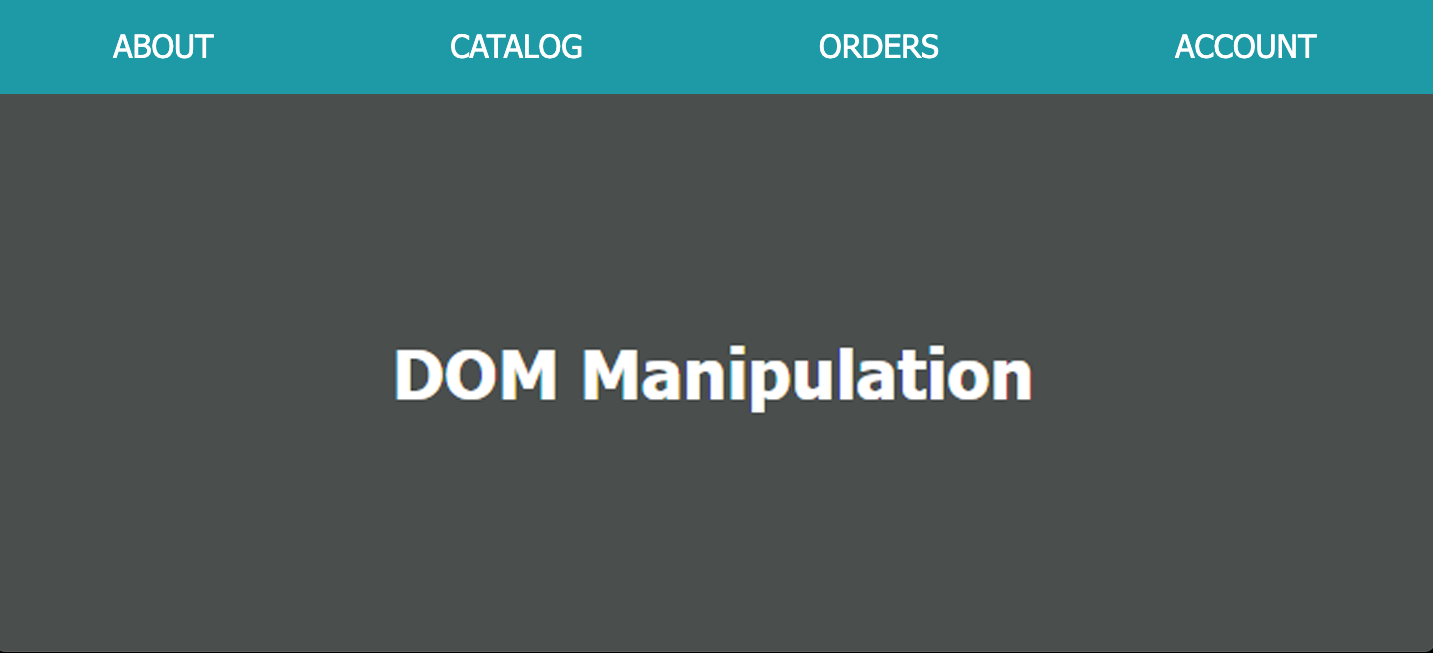
Progress Check - Here's what it should look like so far:

- Copy the following data structure to the top of index.js:
// Menu data structure
var menuLinks = [
  {text: 'about', href: '/about'},
  {text: 'catalog', href: '/catalog'},
  {text: 'orders', href: '/orders'},
  {text: 'account', href: '/account'},
];- Iterate over the entire
menuLinksarray and for each "link" object: - Create an
<a>element. - On the new element, add an
hrefattribute with its value set to thehrefproperty of the "link" object. - Set the new element's content to the value of the
textproperty of the "link" object. - Append the new element to the
topMenuElelement.
Progress Check - Here's what it should look like so far:
Complete
You're done for now! Remember to submit the link to your project to Canvas.
There is a Part Two to this lab, which you should complete as instructed.